Christmas and New Year Savings!
Get 25% discount on Master Voyager until January 10, 2013.
Home > Support > Online Help Manual > How to use Master Voyager > How to create encrypted USB Flash Drive > Add files to the secure zone on secure USB Flash Drive
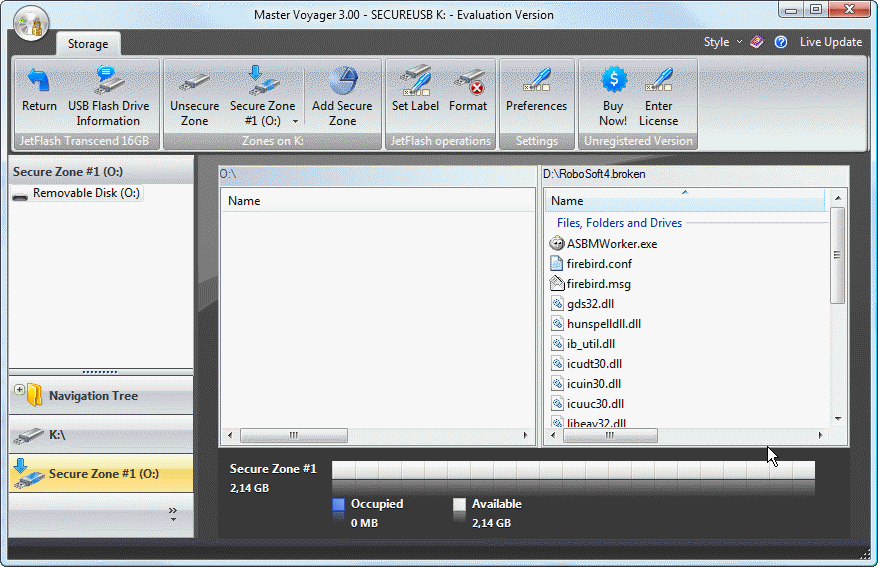
Activate the newly created secure zone in the active files panel.
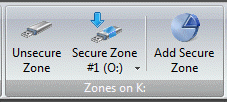
Click the zone button on the toolbar to activate it.

Currently, our zone is empty (when you clicked it, it has been mounted as drive O:)


Drag and drop files from the inactive files pane to the active files pane.
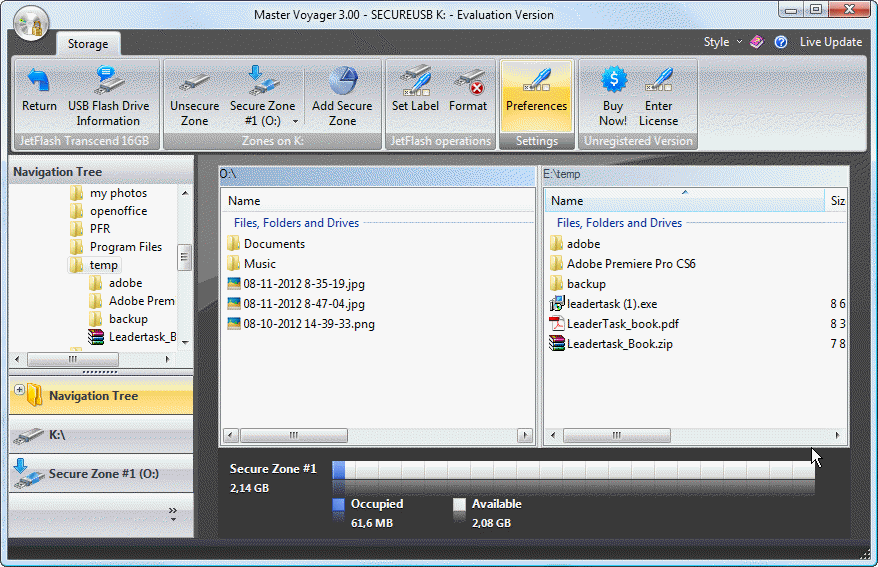
Drag files from external application (for ex. Windows Explorer) to the O:\ files panel.
Click the white space and choose "Create Folder..." to create subfolder in the Secure Zone.

On the screenshot above we created two folders Documents and Music and added 61 mb of files there and added several JPEG files to the root folder of the secure zone.
Done! You've created secure zone on the USB Flash Drive and added files to the zone. Now click Return and close drive. After that the password will be required to open secure zone.
Christmas and New Year Savings!
Get 25% discount on Master Voyager until January 10, 2013.
Self Defence Package
3 product bundle (CD Encryption + USB Encryption + File Encryption + Drive Encryption) at a special price
Subscribe to our Newsletter.
Get notified about new products releases, new significant updates of existing products. Be first to know about short season's discounts and special offers.
Master Voyager Home Edition 3.35
November 13, 2016
Improved compatibility with Windows 10.![]()
Master Voyager Home Edition 3.32
January 11, 2015
Fixed incompatibility problem of the licensing system with the 2016 year.![]()
Master Voyager Home Edition 3.31
November 10, 2014